Building The Van Floor
--

The floor of my van is ½” plywood sitting on top of a 1” thick sheet of
XPS. The plywood is bolted to the van with rivnuts, and much of the
wood I am using for my build is bolted to the plywood with Tee Nuts.
Step 1 for all this was to make some cardboard templates of the shape of
the floor. In this picture, taken in my livingroom, I have my carbboard templates laid on top of the insulation material.
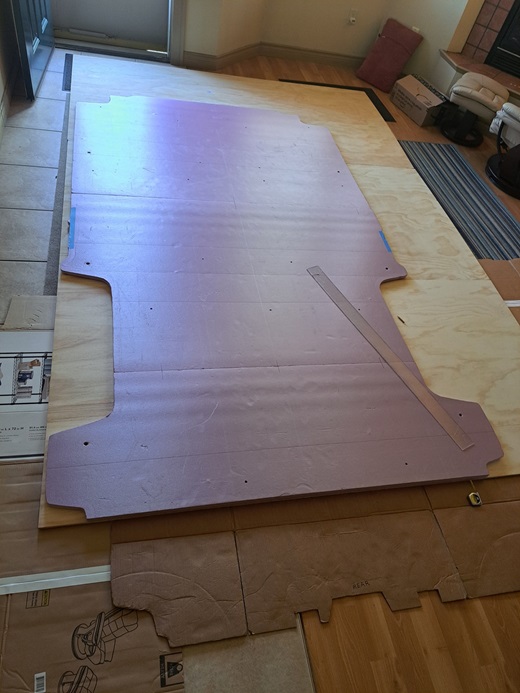
The insulation has been cut to the same shape as my cardboard
templates. The plywood floor is then cut to the same shape as the
insulation.

The 1” XPS insulation is now ready for the plywood to be placed on top of it.
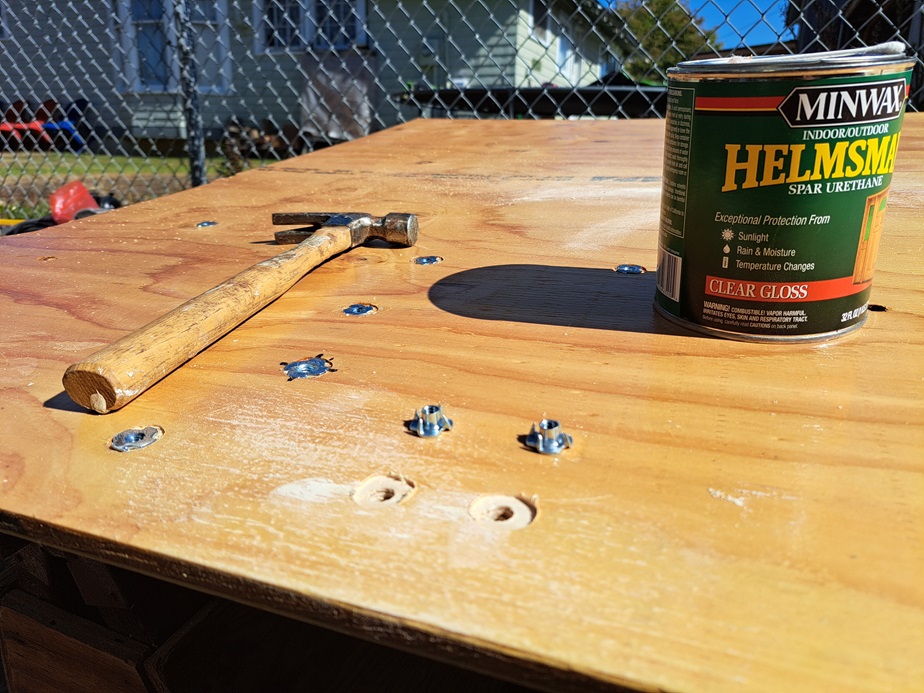
The plywood gets 2 coats of varnish and a whole bunch of Tee Nuts
before installation into the van.